Easy Approach to Setting Up Green Screen
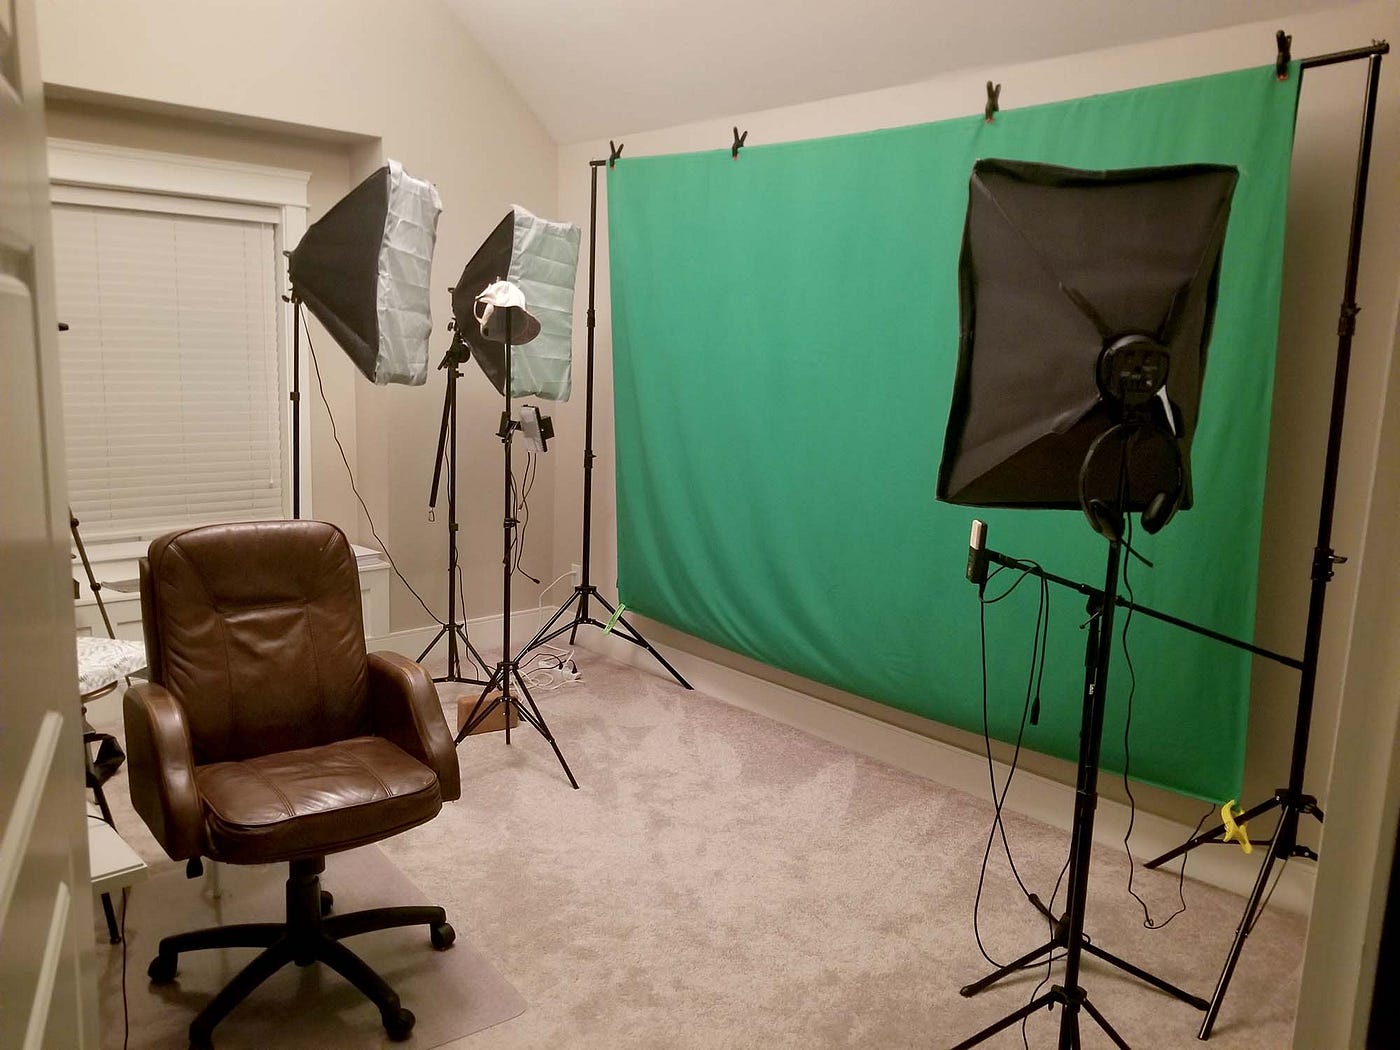
How to Set Up a Home Green Screen Studio for Video Production
Videos that aren't produced in well-equipped shooting spaces or sound stages typically suffer from poor lighting, annoying or distracting backgrounds, and regrettable audio. This article details a simple and comparatively affordable setup for bringing high production values to your home-based video shoots, whether you are already in the habit of producing these, or if it's something you have been considering getting into. I've used this setup for online courses and music videos, since you can put a talking head, a Butoh dancer, your pet, or pretty much anything actually in front of a bedroom green screen to do something VFX-ish with.
The banner image above is from a basic green screen shooting space I've set up in the smallest bedroom in my home which also doubles as a home office. Having a green screen backdrop allows me to have any background I want, by chroma keying any image or video layer that relates to the content, or that may just be visually engaging for an audience.
With chroma keying, your main choices are either blue screen or green screen, and you can read the pros and cons of each approach in many an online blog or debate forum. In essence, these are each very uncommon colors and shouldn't be present in any subject you place in front of them and so only the background will be removed, leaving your foreground isolated for compositing against another image. I am a big fan of blue, however, and generally dislike green, so I went with the green option since it's highly unlikely I will ever put anything green in front of the camera.
The main challenge with chroma keying a person is that you have to avoid light spill that bounces off the backdrop otherwise you will also start removing bits of person when you apply the chroma keying. This is why it's worth putting some thought and investment into a good studio setup.
You'll need stands, sandbags, the green screen cloth, clips, lights, a mic, and the various pieces of equipment you can see above. To help you hone in on your space planning and purchasing decisions, here's a quick run-through of the needs you'll have and some budget-friendly solutions. While in the paragraphs that follow the recommendations may seem based on nothing more than my personal preferences, there are in fact hours of research behind all these product decisions which this article will spare you! Unless you prefer not to be spared surfing through product reviews and online store pages.
Green Screen Coverage
You want to cover as much space behind you as you can, floor-to-ceiling and side-to-side, with the green screen material. Anything less than wall-sized will cramp your delivery style, since you'll have to maintain body position in a small footprint. When you perform in front of a camera, you should have some freedom to move and be naturally expressive, so the green screen should ideally be the entire wall behind you.
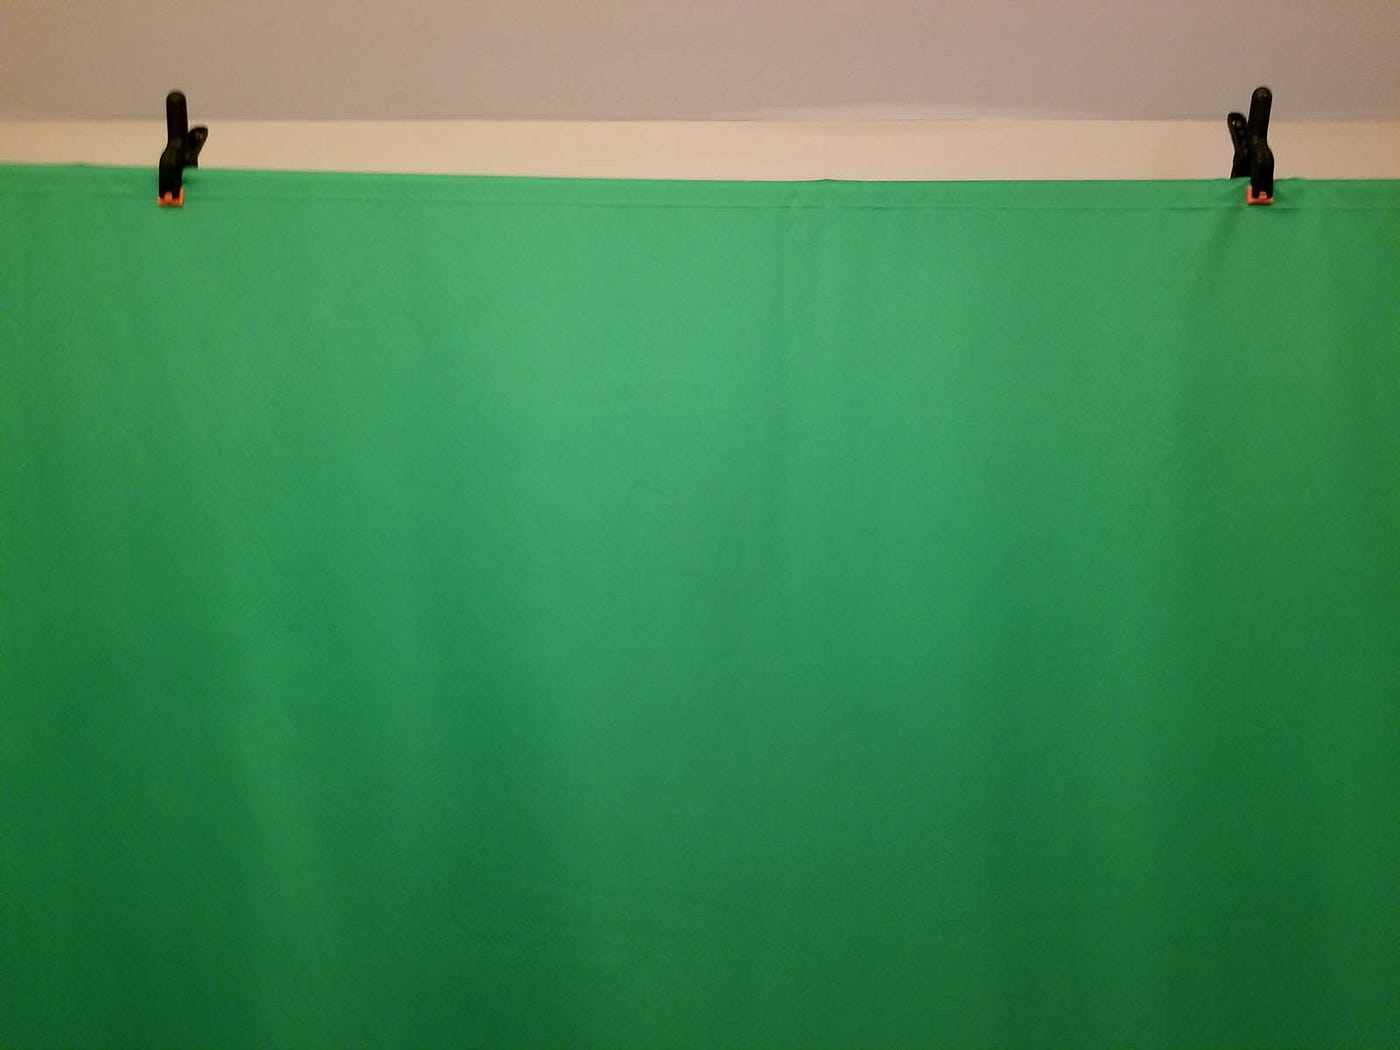
I use a rather massive sheet, a Neewer 9 x 13 Feet Studio Fabric which I actually have to fold in half by draping it over its supporting cross bar. Having a sheet almost twice the size I actually need means that if I ever upsize my green screen studio, I can use the same main cloth. You'll need some clips and clamps to help sort out the wrinkles, after ironing it of course (yes, you can iron a vertically hanging cloth — just press the steam button a lot!). Below you see the use of beach towel clips to straighten out a bottom corner, and some hardware clamps to keep the sheet in place on the crossbar.
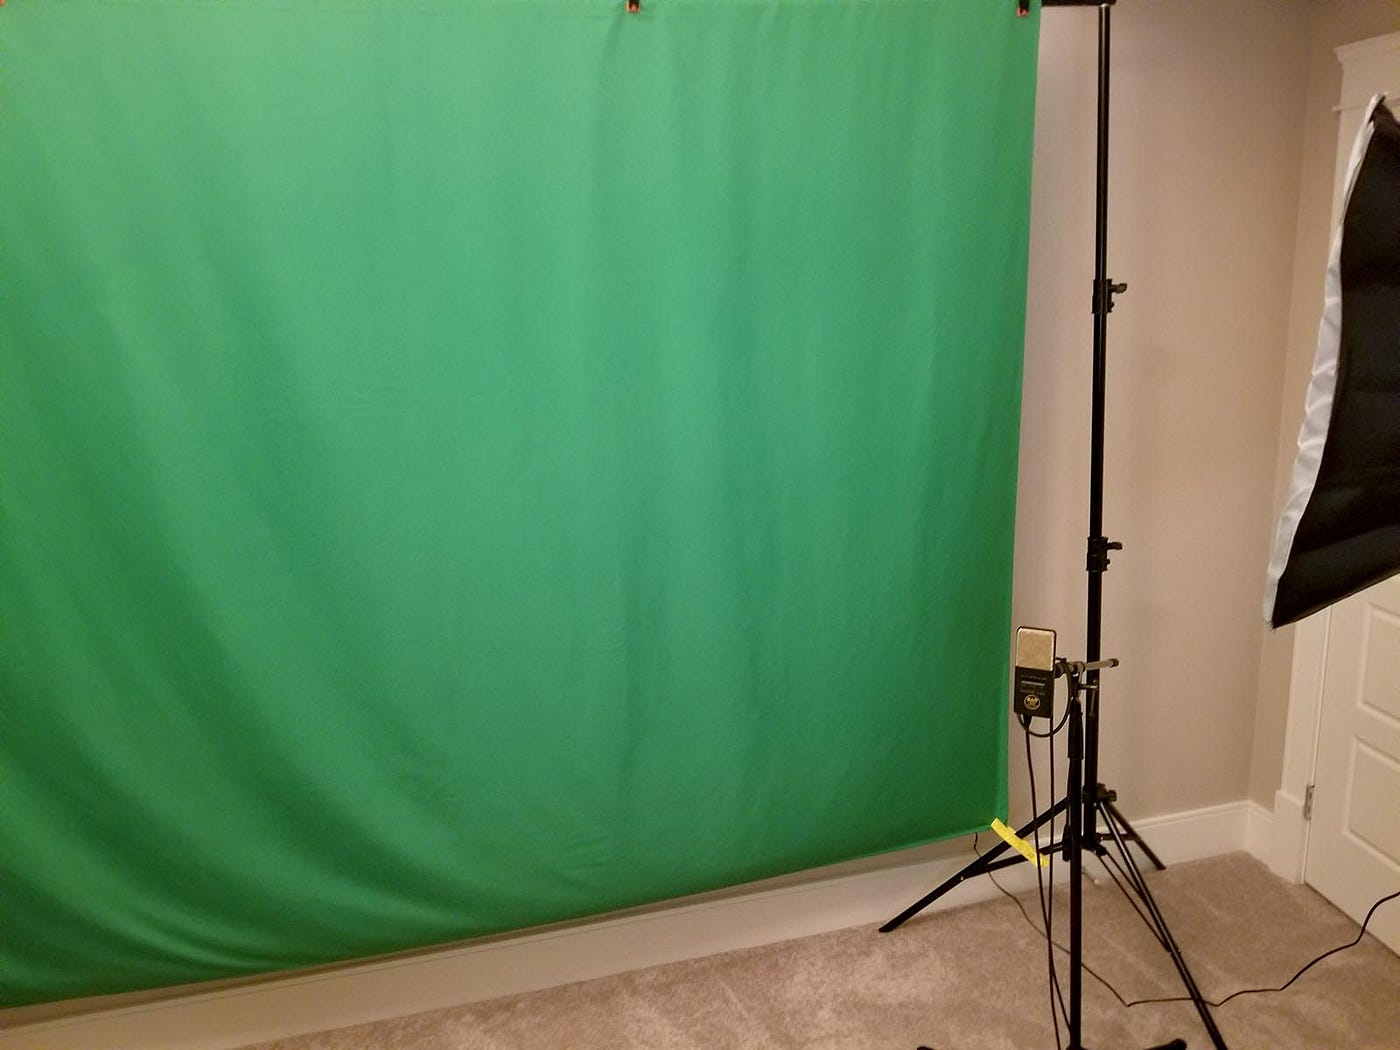
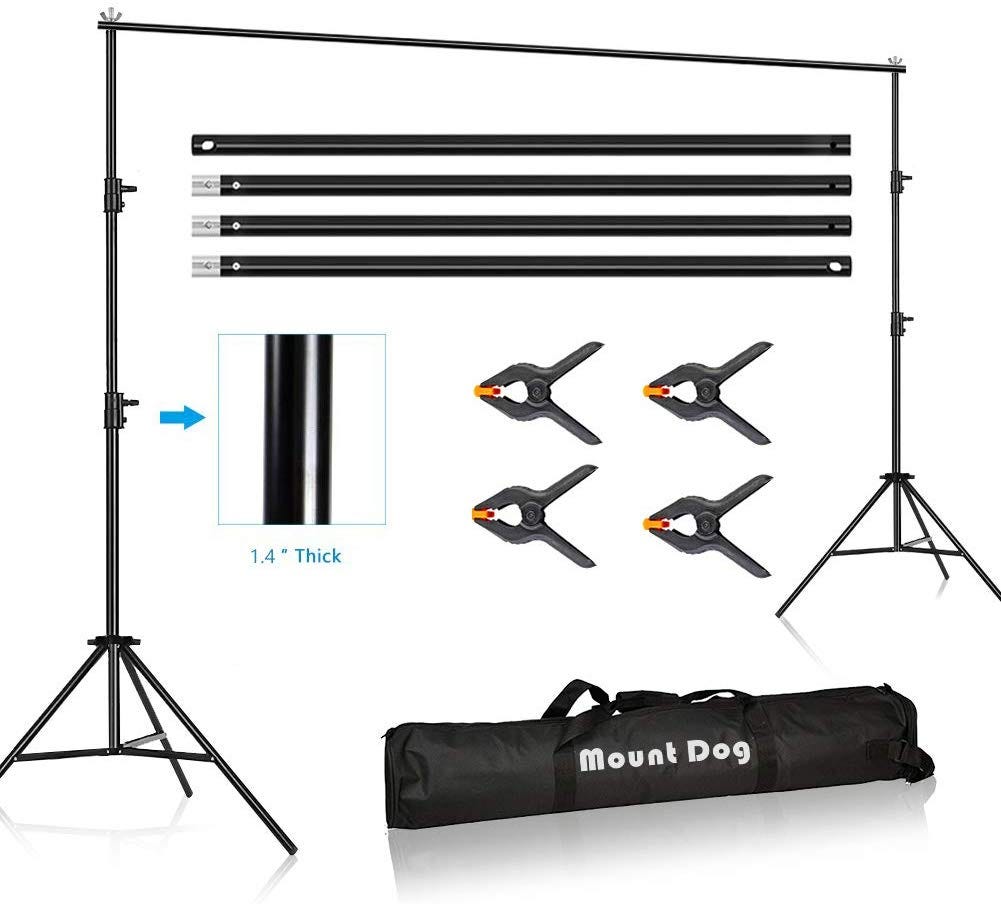
The sheet hangs from a Mount Dog expandable poll system, shown below, which can cover all the wall space behind you that you could want, at least for a decent low or no budget video.
Lighting
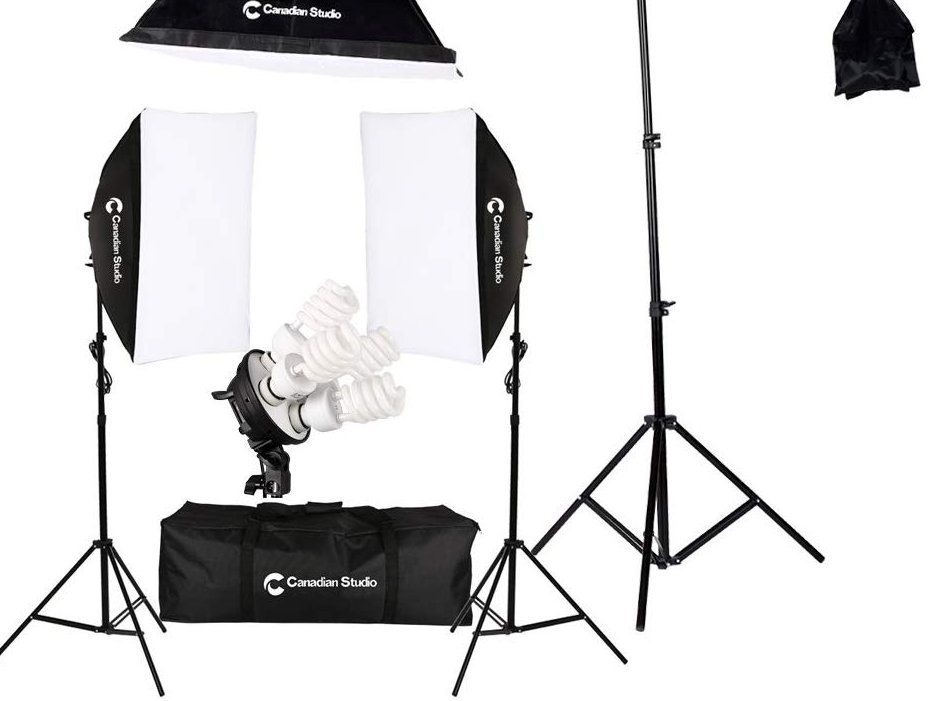
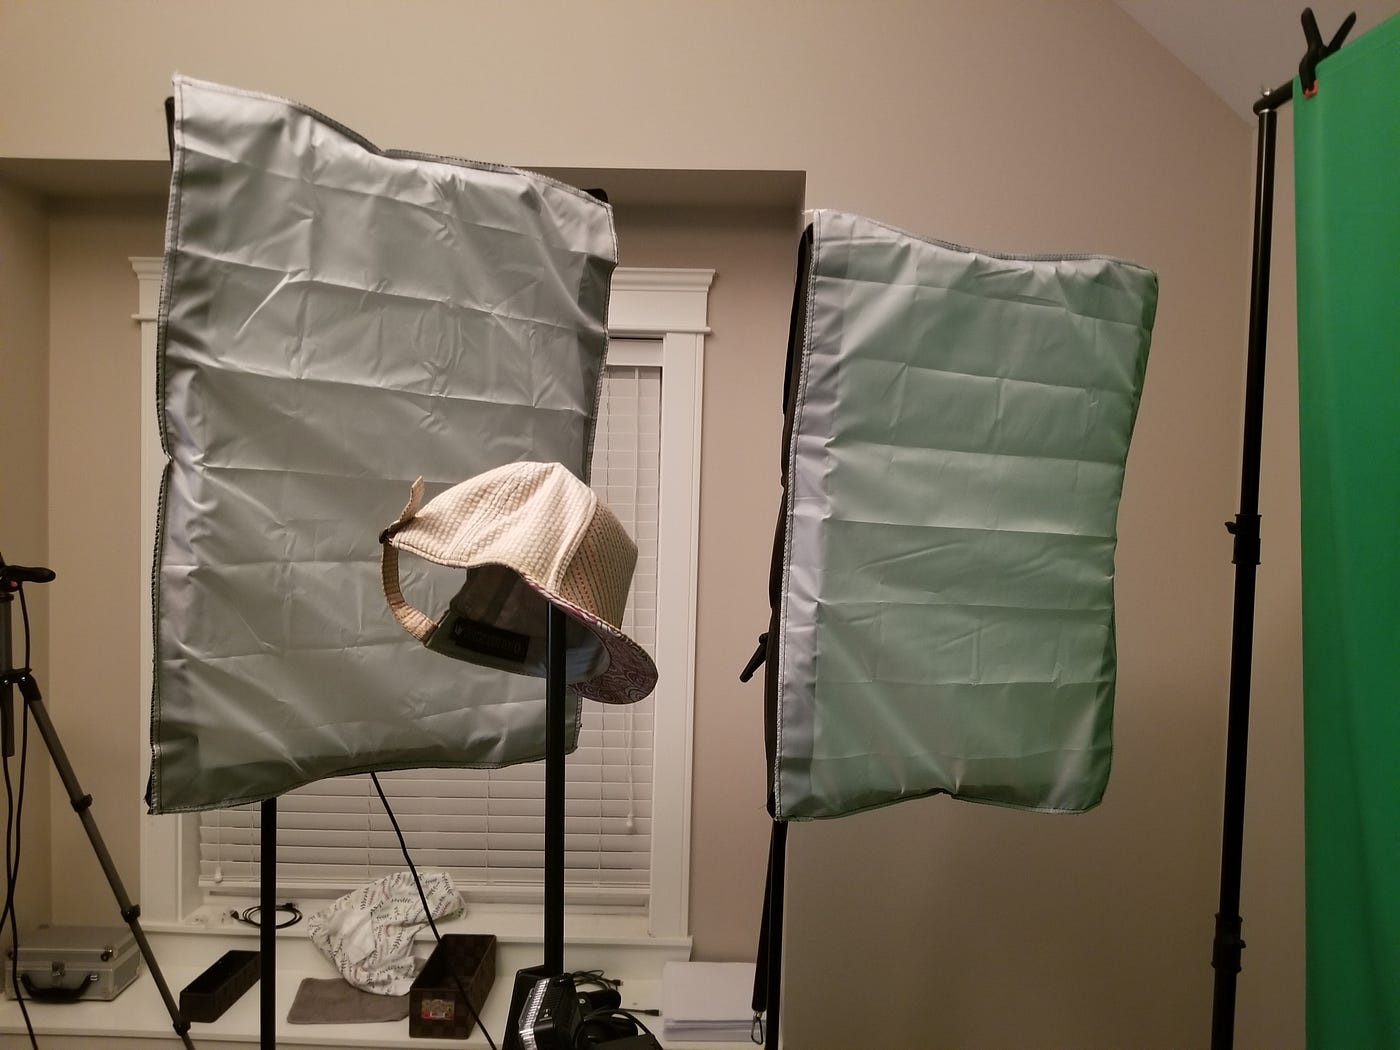
To light a whole wall, you need three-stand lighting. A very affordable option, at least here in Canada, is the CanadianStudio 2400 Watt Video Photography Portrait Lighting Studio. You'll need to light from the left, right and top center, which is why you need one of the lights on a boom pole, which this kit has.
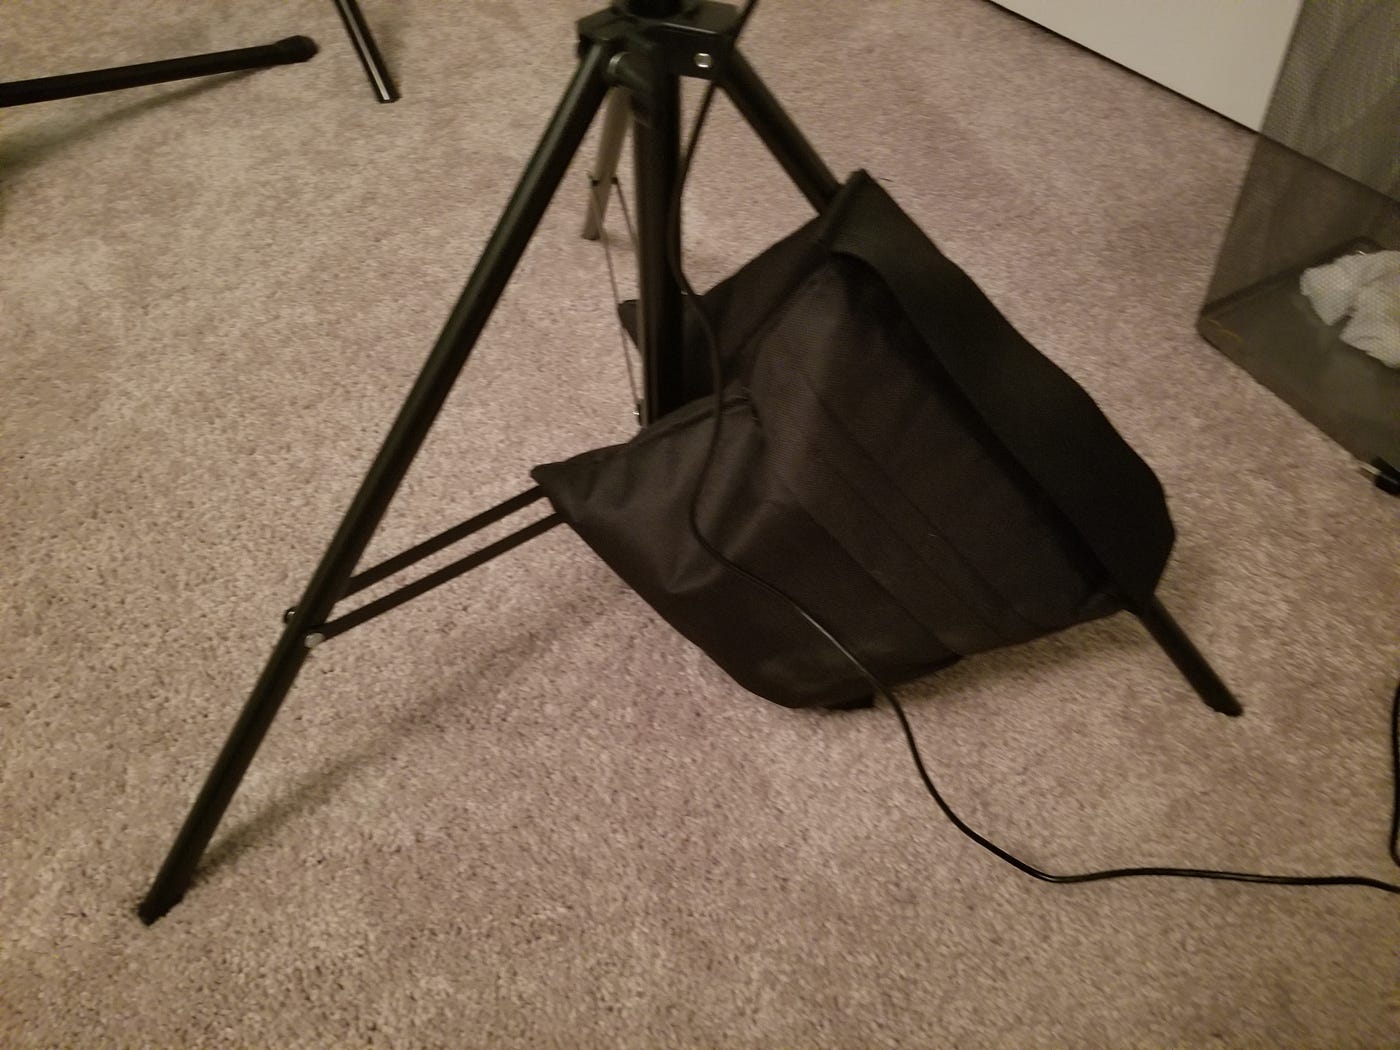
From a physics perspective, these lights are rather top-heavy and quite easily tip over, so you need sandbags to weigh them down at a low height. Sand you can get from your nearest major hardware store which usually has a sand, cement and concrete aisle of some kind. Since you'll need a bunch of bags, a six-pack is helpful, such as the Neewer 6 Pack Black Studio Video Stage Film Saddlebags. Getting sand into these bags, however, is tricky, since most kitchens aren't stocked with sand scoops, and cupped hands don't work very well, either, so invest in a decent soil scoop to scoop the sand into these bags which enclose the sand with both a zipper and velcro seal.
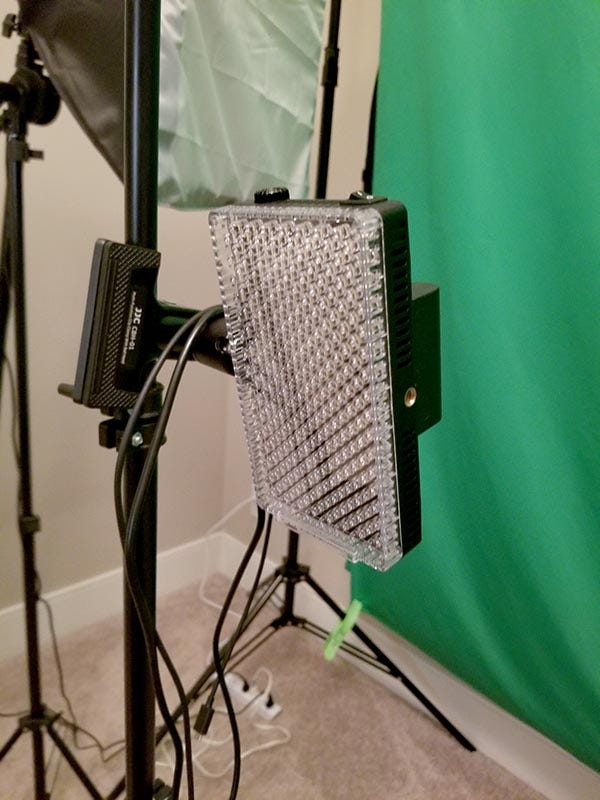
This is just the lighting for the green screen! You still need to light YOU. If your room has a window, try to orient the whole setup to get natural side lighting from it during the day which will produce a nice light and shadow gradient across your face. You'll also need some additional small lights to sculpt your video visage. The Aputure AL-MX LED Video Lights have variable color temperature and intensity controls, and use rechargeable batteries which gives you fewer cables to risk tripping over. You should get at least two of these, to play with the key light and shadow fill lighting roles. And of course, you'll need more stands to attach these to (you'll always need so many stands!) and also tripod clip mounts to get these small lights onto those stands.
Video & Audio
As I am still experimenting with my shooting styles, I either use screen capture software on a laptop connected to a webcam, or I use my DSLR with a wide angle lens to get more cinematic in my approach. A camera will need a tripod of some kind, either a small one that fits onto your desk so that you can see your online teleprompter, or on a large tripod in front of you that will block your view of your online teleprompter! The spatial logistics of a good shoot are never ending….
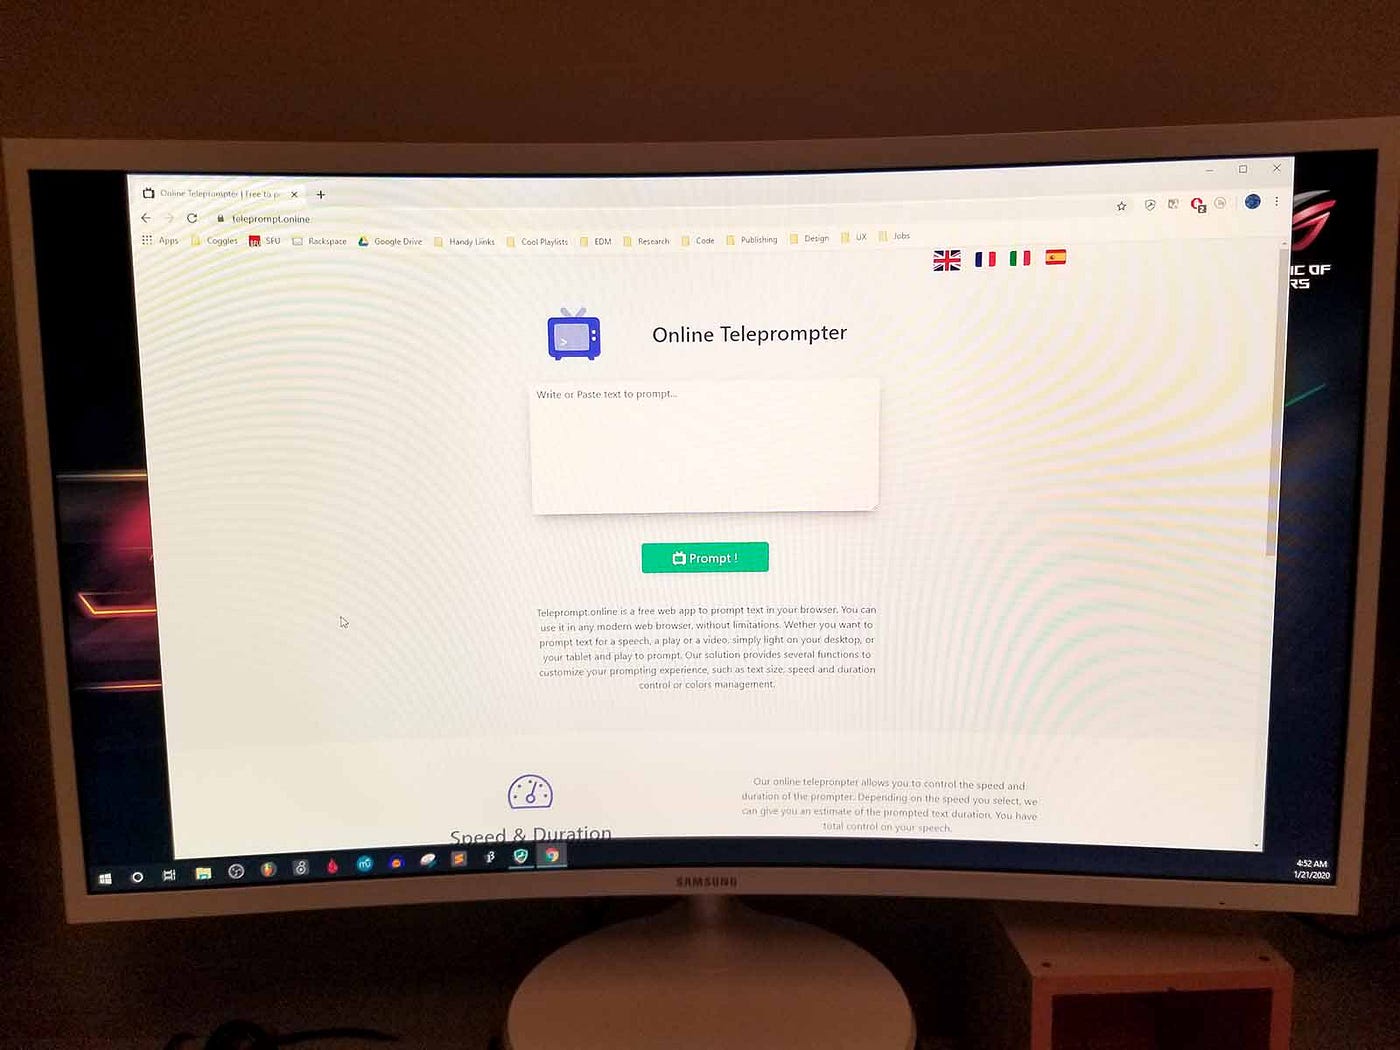
If you are delivering speech directly to an audience in your video, you should use a free online teleprompter tool to make your video delivery easier. You can craft your writing in advance, and give a smooth delivery just like any TV politician with this nifty online tool.
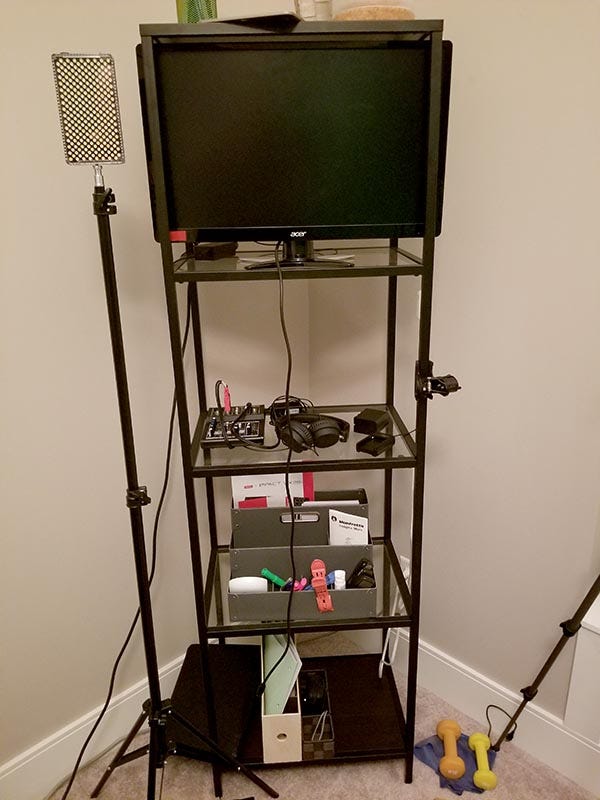
If shooting with the DSLR, I like to have a live feed of the camera's output off to my side so I can check the composition and lighting. To my right is a cheap Ikea shelf with a similarly cheap computer monitor which takes the live video feed from my camera via a miniHDMI-to-HDMI adapter cable.
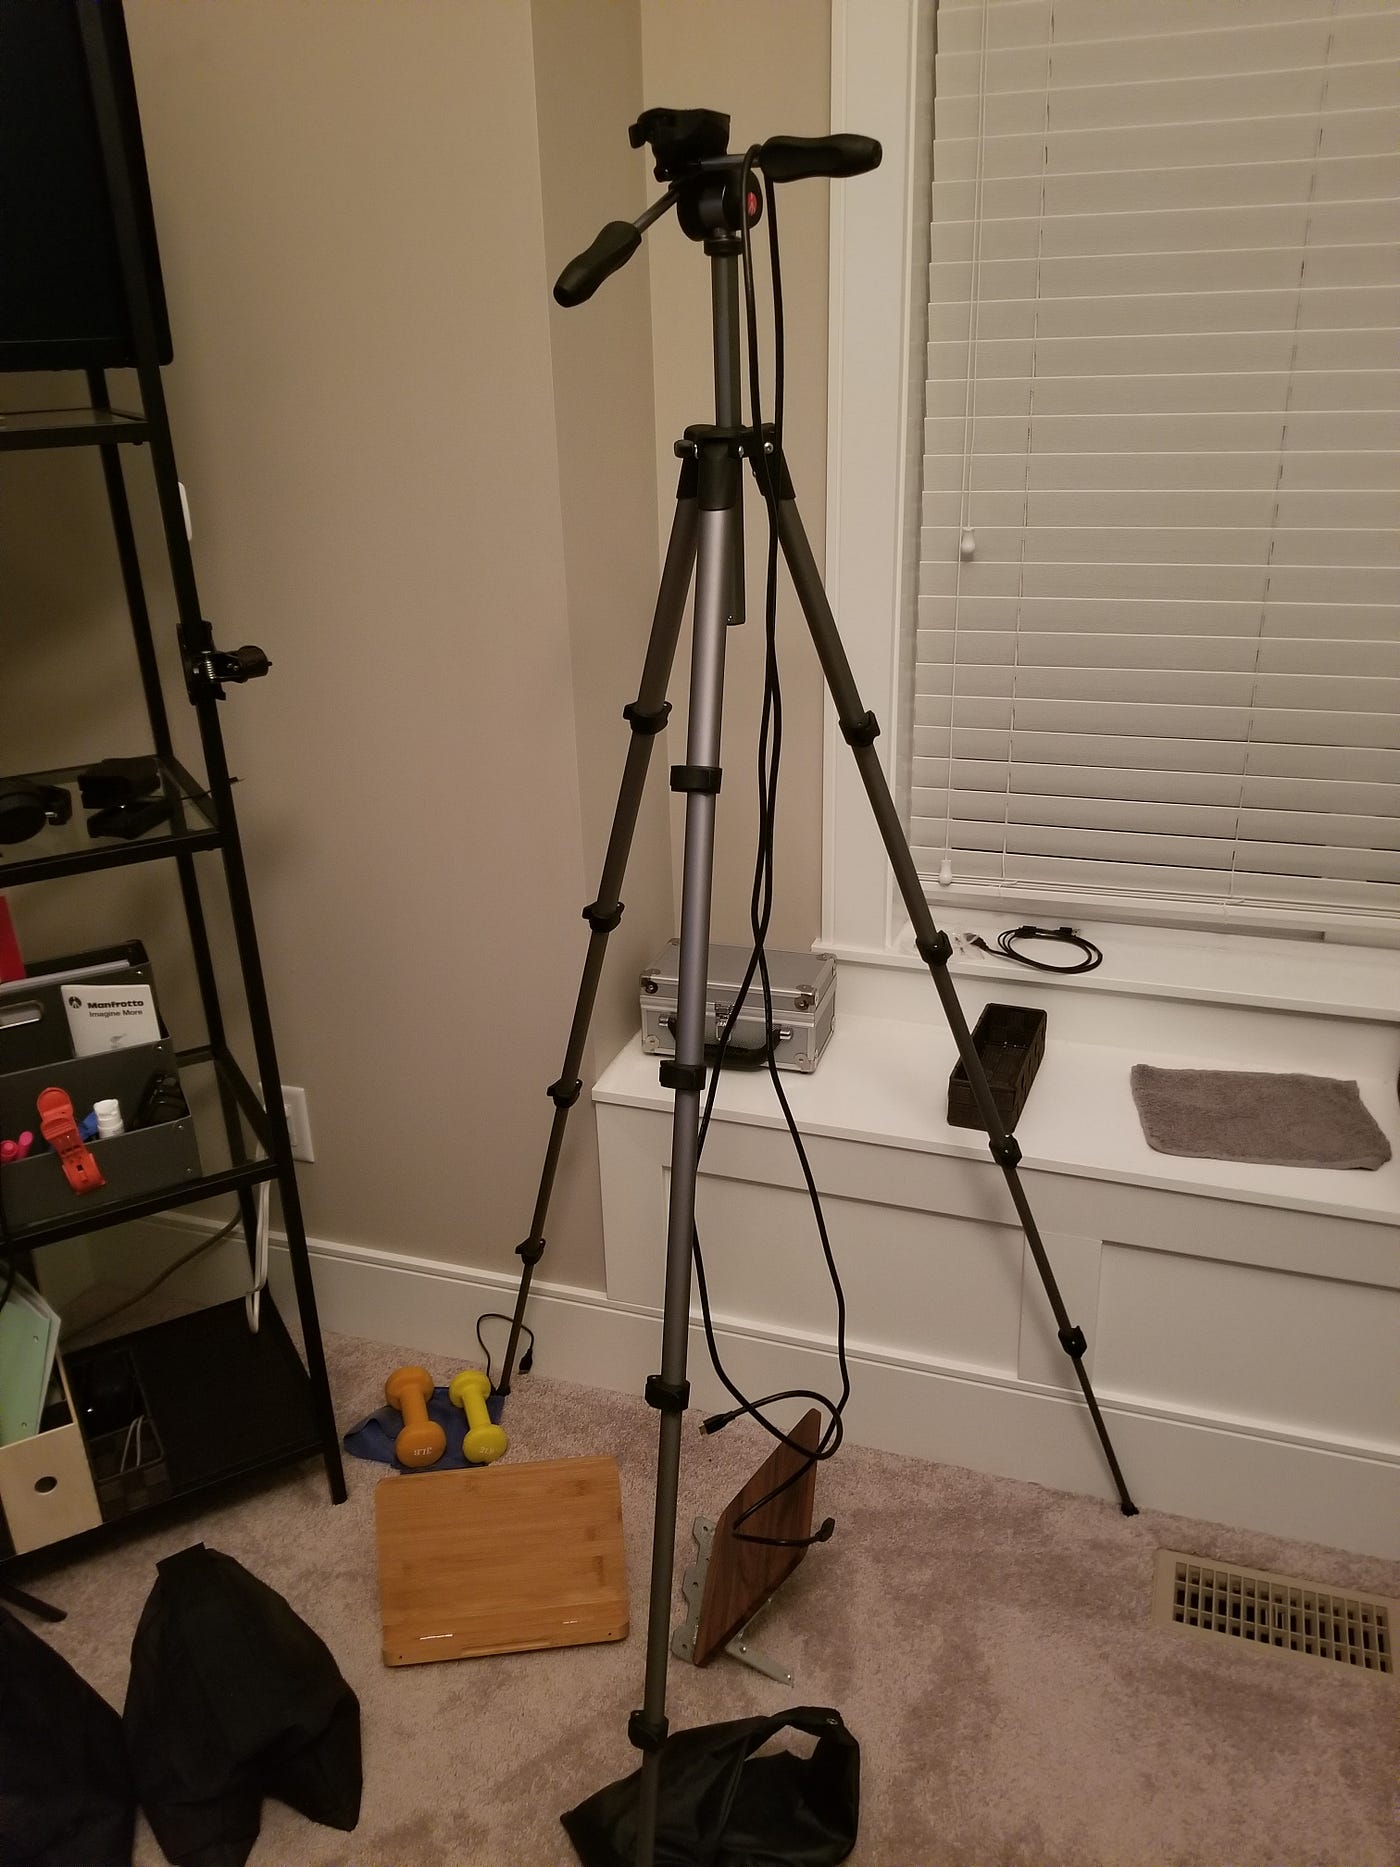
For tripods, you'll want any of the tiny ones you can place on your desk, and a decent floor-standing unit. Get something cheap but still functional, with a reasonable amount of easy adjustability in both the camera positioning and height.
For sound, since I have two ways of shooting my videos (screen capture from a web cam, and DSLR video on flash cards), I also have two lavalier mics, and rather long ones at that, 20', to make sure I can move comfortably around the room and not run out of cable slack. One lavalier mic is USB-based and connects to my computer, the other one has a mini jack which connects to my DSLR camera.
If you prefer that video style where you place a massive microphone next to your face, a decent quality but ultra cheap option is the Neewer NW-800 Condenser Mic which comes in so many colors, you'll want to buy a lot to match all your video outfits!
For the mix, you'll need a decent pair of studio headphones, and for ~$30 it's hard to beat the LyxPro Closed Back HAS-10s for overall comfiness and sound quality in addition to their affordability. Note that these headphones only sound good at moderately loud levels — not too loud, but closer to reference level, which is what you need for real audio mixing, anyway. At lower sound levels they sound annoying dull or muffled because they don't have hyped-up treble and eardrum piercing impulse response. But get them close to a good mixing volume, and they deliver great sound bang for the audio buck.
For the software video editing, chroma keying, audio editing and mixing, that's easy — just use DaVinci Resolve because it's free and Hollywood grade, on either Mac or PC.
The Desk!
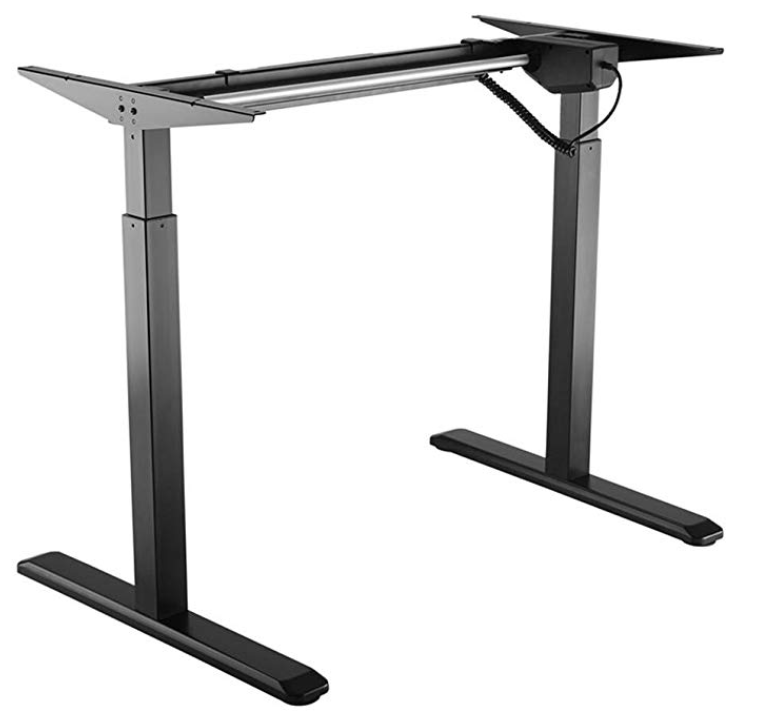
Yes, there is a desk is involved in this setup, and I can't over-recommend enough having an electric-mechanical adjustable one to make your sit/stand/active sitting stool life more conveniently switchable. The cheapest electric adjustable sit stand desk solution I could find is to buy the base only on Amazon, and the desk's top at a cheap Ikea. Um, I mean, a cheap top at Ikea.
Studio Space Miscellany
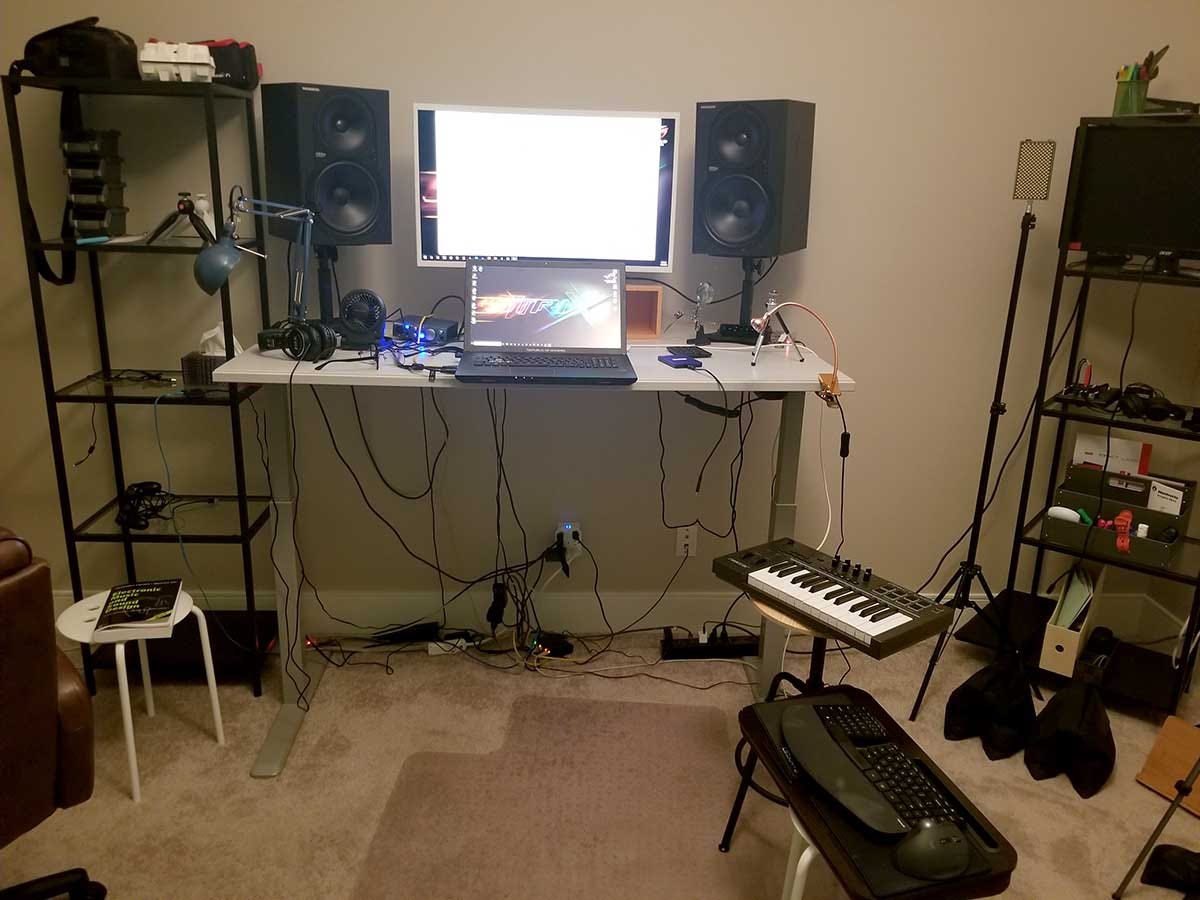
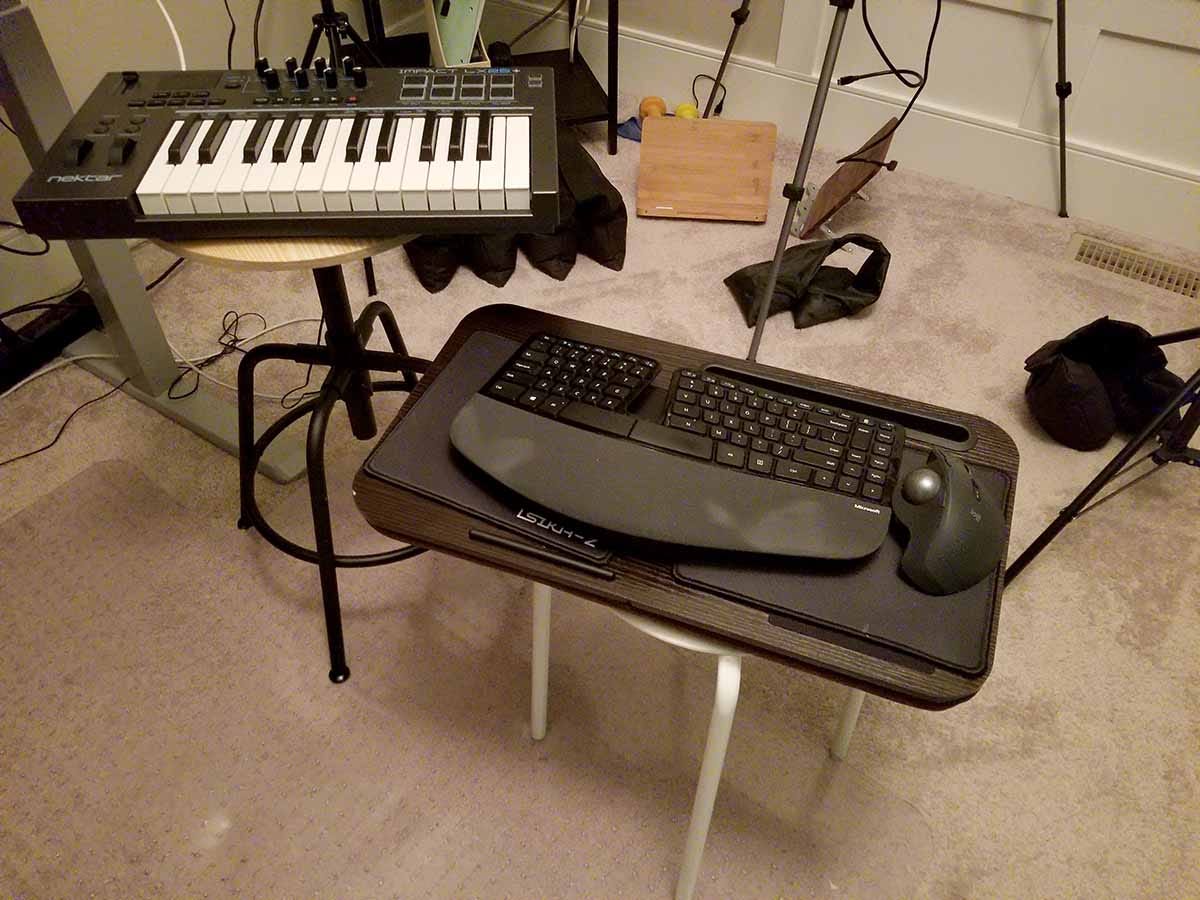
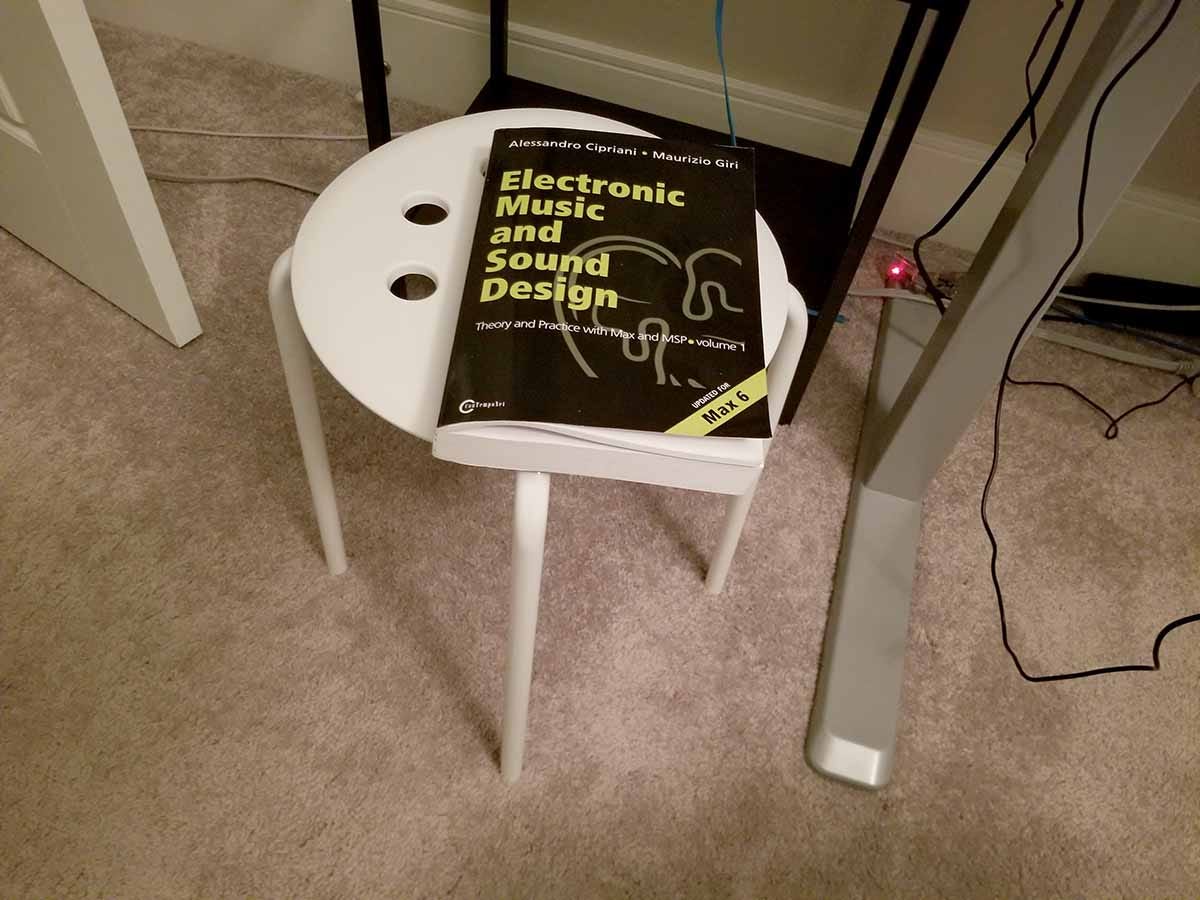
Have a bunch of cheap Ikea stools around. I am always running out of desktop and shelf space to place things on, and I use stools as additional footprint area for placing things on, such as books, music keyboard, computer keyboard, and coffee, and lunch, and my cellphone, and cables, and pretty much anything that could use a flat surface.
All the lighting and c stands you'll have around will also make for great places to hang your hats.
As you can see from the desk photo above, the cables can make the space rather messy so it's usually worth investing in a cable organizer or two. Shooting videos can get hot and you don't want footage of your sweaty face all over YouTube or Udemy, so get a little USB fan to quickly cool off after reading your teleprompter under those not-quite-Hollywood lights.
Also, your home office slash green screen video studio life will go more smoothly if you invest in mobile ergonomics. A decent lap desk, ergo wireless trackball mouse, and ergo keyboard will allow you to position yourself anywhere you need to be to control your computer while also getting your shots, lighting and sound right. I find that the surfaces of lap desks are usually uncomfortably rough so I cover these with gaming mouse pads so that the keyboard and trackball mouse stay nicely in place (due to friction, or resistance, or whatever) on the lap desk, and they are nicer to touch generally.
Aaaaaannnd….
That's it — you're off to the races!
https://filimowi.cz
Source: https://soundand.design/how-to-set-up-a-home-green-screen-studio-for-online-courses-diy-2-8f54ab2eec67
0 Response to "Easy Approach to Setting Up Green Screen"
Post a Comment